
 How SASE Solutions Empower Productive Workforces in a Digital Era
  Excel vs PDF: Which Dominates Document Sharing in 2025? (Data-Driven Comparison)
  TitaniumInvest.com Money 2024: AI‑Driven Tools Outperform Traditional Banking
  Why Your Link Building Efforts Might Fail
  How to Request or Give Remote Control in a FaceTime Call on iPhone
  The Rise of Intelligent Automation in Business Operations
  The Best Ideas for Designing Your Custom Printed Ring Binder
  How Technology is Changing the Way We Play Hearts
  The Rise of Open Source: A Journey to Innovation and Collaboration
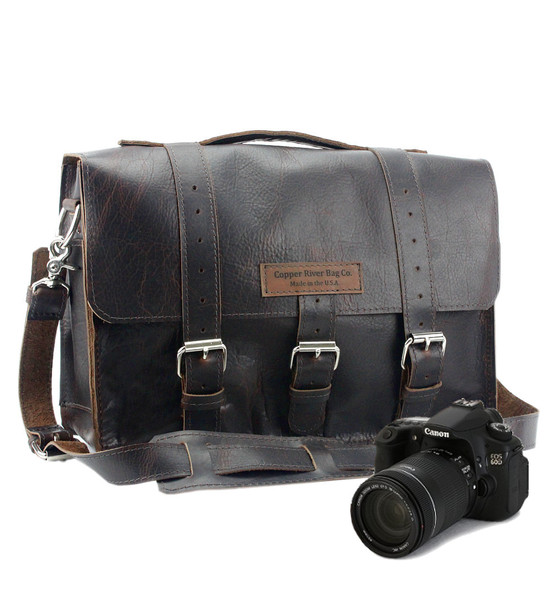
Amateur photographers who love to use DSLR cameras to shoot everyday objects and events can get the high-quality photographs they desire by using the following six techniques also used by the pros. Even without being a professional photographer, you can use these methods to improve the quality of your photos and get the most out of your digital camera.
Learn to Hold Your Camera
When aspiring photographers first buy a good camera, some never learn to hold it properly. When you’re holding your camera incorrectly, you risk unsteady shots, blurred photos, and poorly centered images.
First, think about how to hold the camera as steadily as possible. If you hold your arms close to your sides so that your elbows rest on your body, you’ll get a sharper image. Use both hands to hold the camera, making sure that you’re pressing your face to the viewfinder. If you want a steadier shot and you don’t need to move around to get the photo you want, a tripod makes a useful accessory for amateur photographers to have.
Understand ISO
If you learn only a few camera settings, let ISO be one of them. ISO describes the degree of light sensitivity, which affects how clear or grainy your image will come out. The higher the ISO setting, the greater the degree of light sensitivity your camera will display.
For an outdoor shot on a sunny day, an ISO setting of 100 is adequate. The best kinds of digital cameras feature automatic ISO settings that you can adjust manually. When shooting in low light, you need an ISO setting of 400 to 3,200 to get a crisper image with better color detail.
Change the Angle
Something as subtle as the angle of a photo can take a subject from attractive to stunning. The angle is something that photographers think about greatly but also something that people who view images may not notice. People who view your pictures will simply find them captivating without knowing the technical reason behind their interest.
Think about getting under, hovering over, or looking at an object sideways. Experiment with the angle until you find a favorite position.
Use the Rule of Thirds
The rule of thirds is one of the most basic image-centering concepts in photography. Once you learn this technique, you’ll start seeing it used in professional photography everywhere.
Start by imagining your frame divided by a tic-tac-toe grid. Imagine the four places where the lines intersect. In the rule of thirds, you place focal points in those intersections to create a balanced, interesting image. You can also line up objects along one of the lines if your subject is too big to align with an intersection. The horizontal lines also serve as guidelines for horizon placement.
Buy Polarizing Filters
Polarizing filters are necessary for anyone who lives near water. This filter reduces some of the light that reaches your lens, including glare and reflection.
Photographers use polarizing filters when they photograph sky, water, and surfaces like glass that reflect light. Polarizing filters often add vibrancy to color. Since these filters darken your exposure, you’ll have to adjust light intensity levels accordingly.
Reset Your Settings
When you’re learning to use your digital camera more effectively, you’ll naturally start to change the settings to adapt to different lighting conditions, focal points, and subjects. Always remember to reset your settings each time you take your camera out of its camera bag. The setting you apply when you photograph your friends during a night out will make the sunny landscape pictures you take the next day look out of balance if you don’t remember to adjust the settings. You don’t want to miss a great shot because you realize at the wrong moment that your settings are off.
Capture the memories and the people who mean something to you, such as family, friends, and gatherings, in new ways that look sleeker and more professional than ever. Your DSLR camera is one of many tools you have as an amateur photographer that can help you take stunning photographs.