
 Xbox Cloud Gaming Equirements: Internet, Devices, Controllers
  How to Delete Sent Messages on iPhone From Both Sides
  Portable Monitor For Laptop Guide
  Optimizing Sales Prospecting with Modern Software Tools
  What Is One Way That Technology Can Improve The Distribution Of Goods?
  Xbox Cloud gaming: A Practical Guide For Real Life
  Game Pass vs PlayStation Plus: which is actually worth it?
 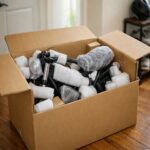 Macfox X1S installation guide: assembly, setup, and first ride checks
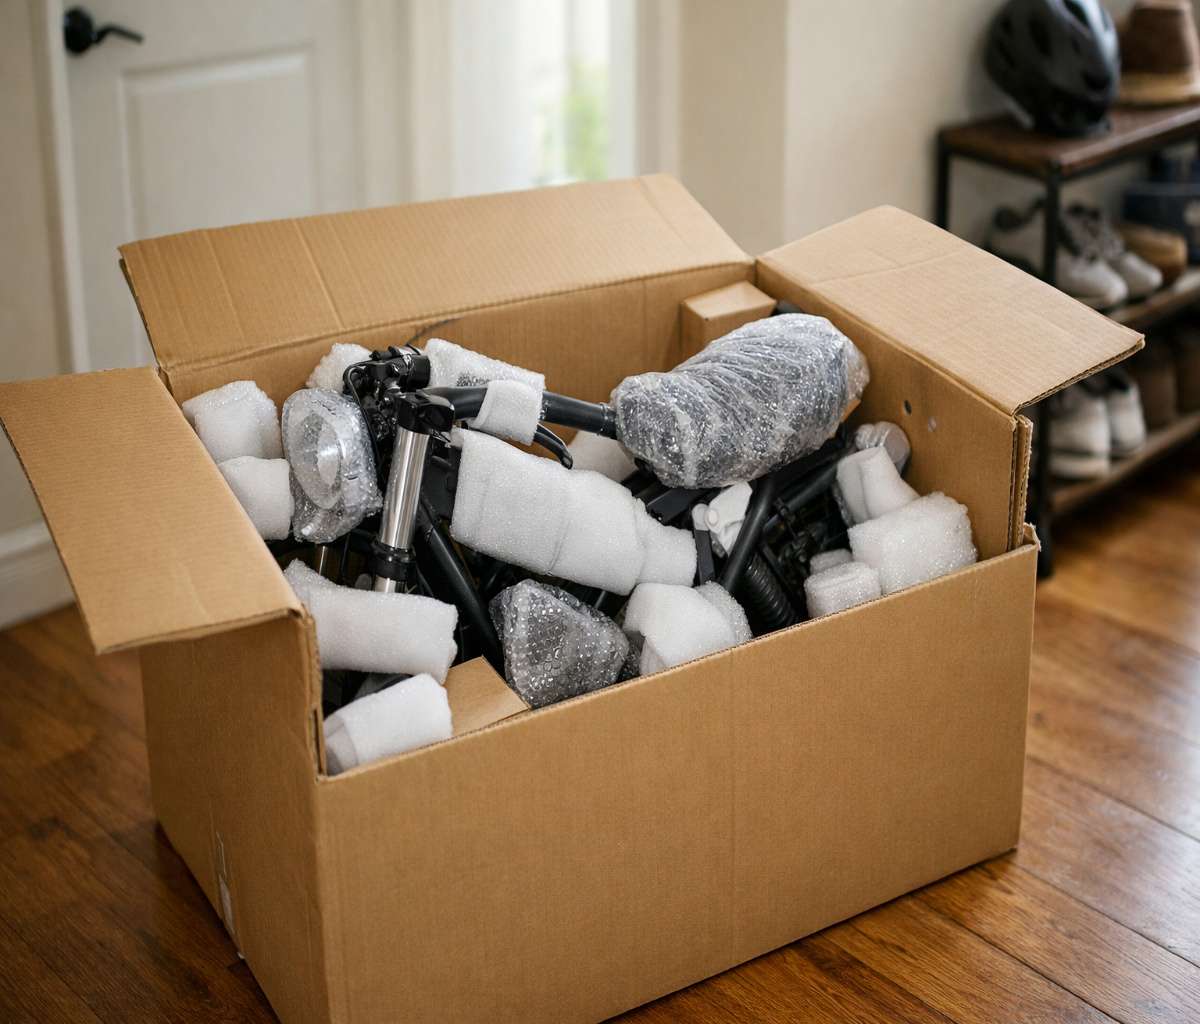
If you’re here because a big box with an e-bike inside just showed up at your door, I get it. There’s a mix of excitement and that quiet question in the back of your mind: “Am I about to mess this up?” This macfox x1s installation guide is meant to make the process feel steady and normal—like you’re building something that’s supposed to be built at home, not defusing a device.
Two quick notes before we start. First, most e-bikes arrive about 90% assembled, so you’re mainly attaching the front wheel, handlebars, pedals, and doing a careful once-over. Second, documentation isn’t always perfect on this model—an independent review noted the manual and diagram didn’t match the actual bike well, and even the kickstand mounting holes weren’t clearly explained. That doesn’t mean you can’t assemble it. It just means you should slow down for a few steps and trust what you see in front of you.
If you want the bigger picture before you turn a single bolt, I’d read the main review and ownership guide, too: Macfox X1S: honest review, setup, and ownership. It’ll help you understand which “rough edges” are normal and which ones are worth addressing early.
Before you open the box: a realistic plan
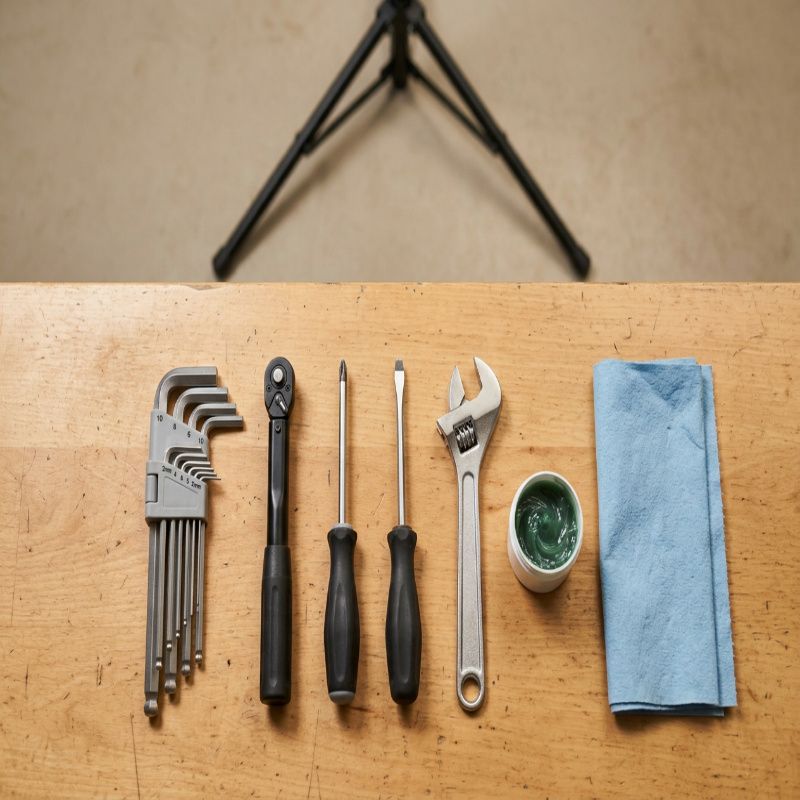
Macfox’s own installation guide recommends basic bike tools like Allen wrenches, a torque wrench, screwdrivers, an adjustable wrench, and bike grease, plus a bike stand if you have one. You don’t need a professional shop setup, but it does help to have space, decent light, and maybe 60–90 calm minutes where you won’t be interrupted.
webBikeWorld said assembly took them under 20 minutes, but they also ran into extra steps because the kickstand wasn’t attached and the instructions weren’t great. I’d rather you plan for a little longer and finish relaxed than rush and spend the next week wondering if something’s “slightly off.”
Unboxing checklist: confirm every part is there
Start by opening the box carefully and laying things out. Macfox’s product listing says the box should include the bike, headlight, taillight, battery, charger, installation tools, and a user manual. Keep the packaging until your first ride is done and you’re sure everything works—this is boring advice, and it’s also the advice people wish they followed.
As you unbox, do a quick damage scan: look for bent rotors, pinched cables, cracked plastic, or paint damage. If something looks truly wrong, pause and document it with photos before assembling more.
Step-by-step assembly (the calm, no-drama version)
Step 1: Set the bike in a stable position
Put the frame on a flat surface where it won’t tip. If you have a bike stand, great. If not, you can use the box foam and a wall for support. The goal is simple: no wobbling while you install the front wheel and align the handlebars.
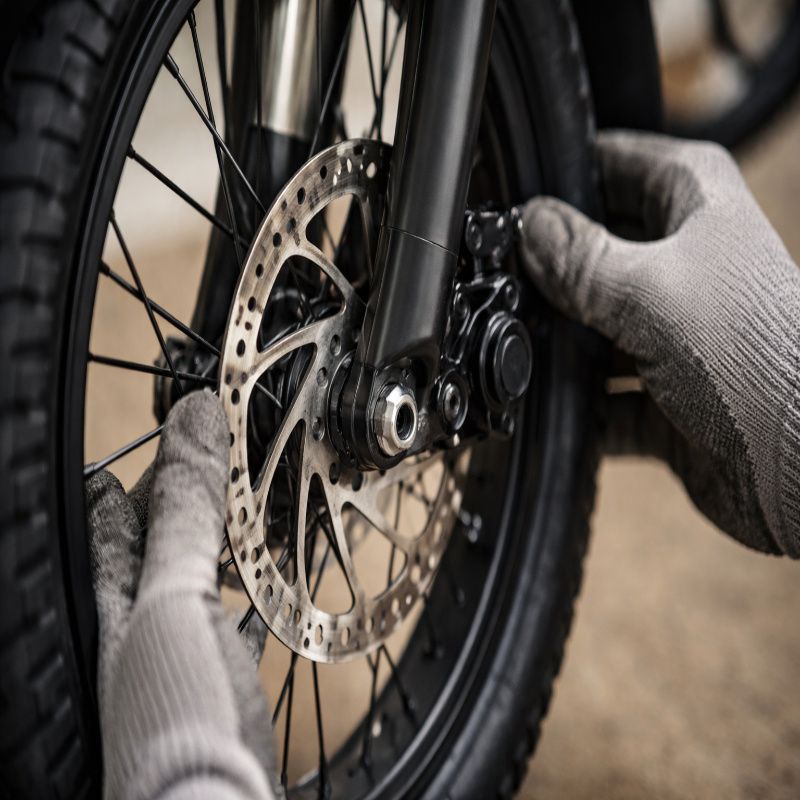
Step 2: Attach the front wheel
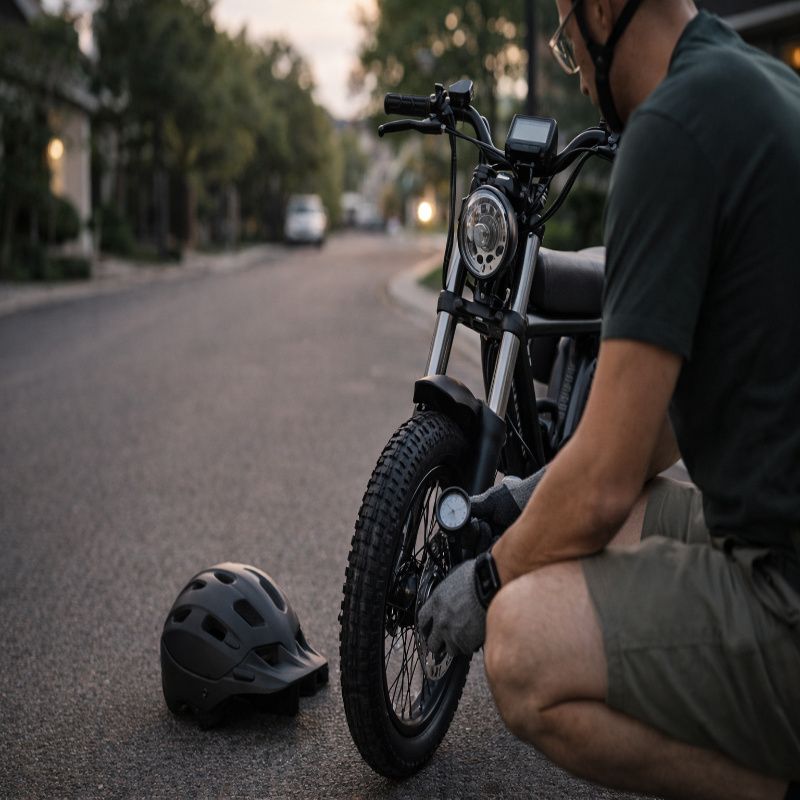
Macfox’s installation guide emphasizes front-wheel alignment and rotor positioning: make sure the brake rotor is oriented correctly and slides cleanly between the brake pads without dragging. Once the axle is seated, tighten it securely and confirm the wheel is centered between the fork legs.
Then spin the front wheel. You’re listening for scraping, and you’re watching for side-to-side wobble. A tiny bit of pad “kiss” can happen on mechanical discs, but a loud scrape or hard drag is your cue to realign the caliper or check rotor alignment.
Step 3: Install and align the handlebars
Macfox’s guide describes placing the stem and aligning the handlebars with the front wheel before tightening. Tighten evenly and check for stability—when you hold the front wheel between your legs and try to twist the bars, the bars should not rotate.
This is also the moment to make sure your cables aren’t kinked or stretched. Turn the bars left and right and watch how the cable loops move. If anything looks too tight, reroute gently before you fully torque everything down.
Step 4: Install the pedals (don’t cross-thread them)
Macfox’s guide notes the pedals are marked “L” and “R.” That matters. Thread each pedal by hand first, turning slowly, and only grab a wrench once you’re confident it’s threading smoothly. Pedals that feel “gritty” going in are often cross-threading, and that’s one of those mistakes that can turn a simple build into a headache.
Step 5: Install the battery and do a first charge
Macfox’s installation article describes inserting the battery, connecting it, and charging fully before the first ride. An independent review also notes the battery is removable by lock and key, with a switch on the side and even a USB port—so while the battery is in your hands, it’s a good time to locate those features and make sure they work the way you expect.
If you’re the cautious type (I usually am), this is also a good time to check that the battery seats firmly and doesn’t rattle. A secure battery fit prevents weird intermittent power issues later, which can sometimes show up as confusing “electrical problems” that are really just a connection problem.
Step 6: Adjust the brakes (mechanical disc basics)
Macfox’s guide recommends checking pad alignment, adjusting lever feel, and testing for rubbing. Mechanical discs are nice because you can service them without bleeding lines, but they do require a little dialing-in sometimes.
webBikeWorld mentioned experiencing vibration when braking with the front and suggested it might be alleviated by adjusting the front brake pads. If your first test stops feel pulsy or rough, don’t panic—start with caliper alignment and pad bedding-in before assuming a part is defective.
Step 7: Check tire pressure and tire condition
Macfox’s instructions say to use the recommended pressure printed on the sidewall. This is one of those steps that feels optional until it isn’t. Tire pressure affects range, comfort, and handling, especially on a fat-tire commuter e-bike.
While you’re there, look for shipping damage: sidewall cuts, bulges, or anything that looks like a pinch. If the tire looks questionable, handle it now, not after a night ride when it’s harder to diagnose.
Step 8: Set up the dashboard and do a control check
Macfox describes mounting the dashboard, powering it on, and verifying it displays key info like speed and battery. Do this before your first ride so you’re not troubleshooting electronics on the sidewalk.
Now do a simple “controls sweep”: power on/off, check the display responds, test the headlight button, and do a gentle throttle test with the rear wheel off the ground if you can do so safely. webBikeWorld reported difficulty connecting headlight wiring during assembly, and later said they managed it by creating room for a very snug connector fit—so if your light doesn’t power on, it’s worth re-checking connectors calmly.
If an error pops up on the display at this stage, don’t guess. Use the dedicated troubleshooting resource: Macfox X1S error codes. It’s faster than trying random fixes, and it keeps you from accidentally making a small issue worse.
Final adjustments: the last 10% that makes the bike feel “right”
Macfox’s installation guide ends with basics like checking the chain, doing a short test ride, tightening everything, and listening for unusual noises. That’s the right mindset. You’re not trying to make it perfect in the garage—you’re trying to make it safe and predictable.
Kickstand note (because this is where people get stuck)
webBikeWorld noted the kickstand wasn’t attached on their bike and that there were four possible mounting holes with unclear instructions about which ones to use. If you run into this, treat it like a fitting exercise: align the kickstand bracket flush, choose the hole pair that allows full contact without stressing the bracket, and tighten evenly. If the kickstand feels angled or unstable, stop and reassess before you strip threads.
My “first hour” safety checklist (worth actually doing)
This is the part where I slow down, even if I’m eager to ride. E-bikes are heavy and fast enough that small assembly mistakes matter.
- Front wheel: Axle fully seated, wheel centered, rotor not rubbing badly.
- Handlebars: Straight, tight, no twisting in the stem when you apply force.
- Brakes: Levers feel firm; bike stops cleanly; no loud scraping.
- Tires: Inflated to the sidewall recommendation; no cuts or bulges.
- Electrics: Display works; headlight turns on; throttle responds smoothly in a safe test.
- Fasteners: Quick once-over on visible bolts (especially stem/handlebar area).
If you want a more complete ownership perspective—comfort, range expectations, and what to watch for after the novelty wears off—circle back to the pillar article: macfox x1s.
First test ride: keep it short on purpose
Macfox suggests a short test ride and watching for vibrations, discomfort, or unusual noises. I’d keep your first ride to 5–10 minutes near home. Use low assist, do a few gentle stops, and check that nothing loosens.
If the bike feels “generally fine” but slightly noisy, that’s common. If something feels unsafe—brakes fading, wheel wobble, bars slipping—stop immediately and fix it before riding again. This is where you save yourself from turning a minor adjustment into a costly repair.
Common setup issues (and what I’d do first)
Headlight won’t turn on
webBikeWorld described headlight wiring that was difficult to connect, and later said they eventually got it to seat by creating room for a very snug connection. Start by re-checking the connector alignment and making sure it’s fully seated. If the bike throws a code, use Macfox X1S error codes to avoid chasing the wrong problem.
Brake rub or vibration
Macfox recommends checking pad alignment and lever feel, and webBikeWorld suggests pad adjustment could help with vibration. Re-center the caliper, make sure the rotor is straight, and bed in the pads with a series of controlled stops. If vibration persists, inspect the rotor for bends and check that all front-end bolts are snug.
The bike feels slow or “not as powerful as expected”
Confirm the battery is fully charged and the correct PAS level is selected. webBikeWorld noted throttle response lag and mentioned their test ride topped out lower than the listed top speed in their run. Some of this can be normal depending on settings, rider weight, and terrain, but it’s worth ruling out a simple setup issue first.
When to stop and get help
If you see damaged electrical connectors, a clearly bent rotor that won’t true, stripped threads, or recurring error codes that return after reseating connections and charging, it’s time to pause. There’s no shame in taking it to a shop for a safety check, especially on brakes and steering.
And if you’re still deciding whether this is the right bike for you—or you want to understand the tradeoffs that come with a budget moped-style commuter—read the full guide here: Macfox X1S: honest review, setup, and ownership.